
I got a few questions about our farmhouse table and I though I would show you today how we transformed our dining table into a rustic farmhouse plank table using barn boards.
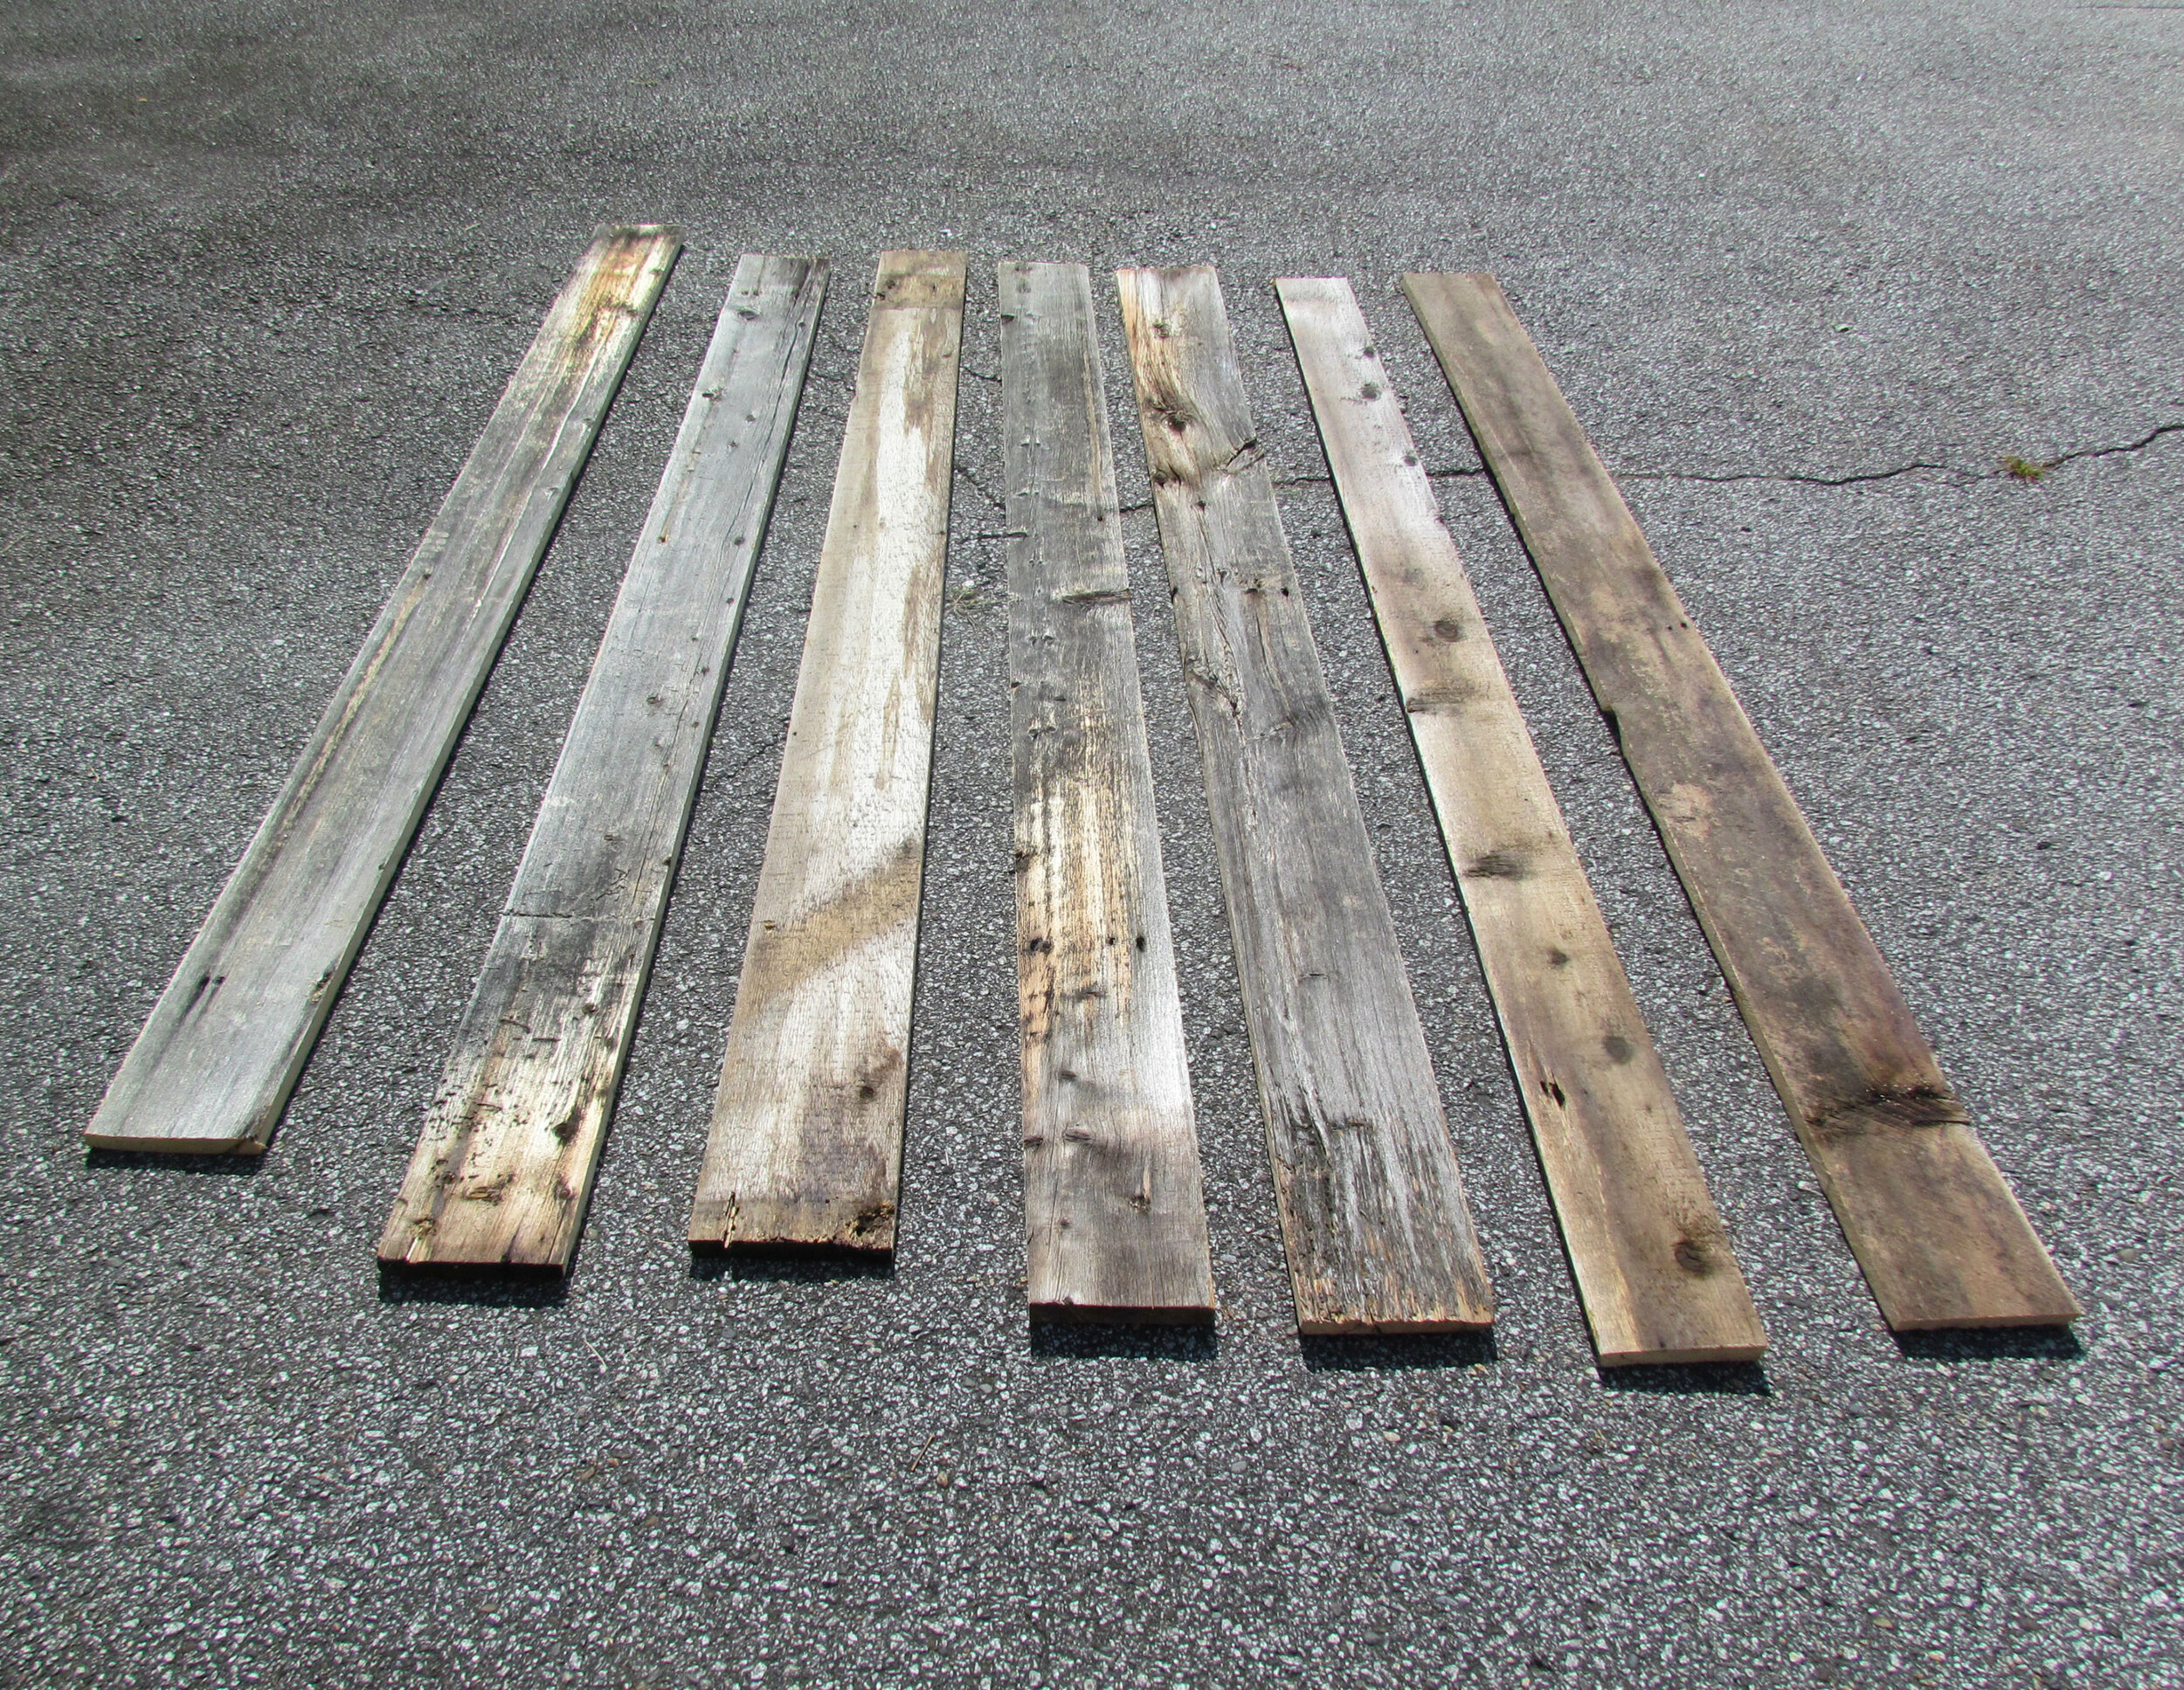
It all started when my husband found these beautiful boards from an old Vermont barn.

The boards looked pretty rough but I knew that with a little TCL, they would be perfect to plank our kitchen table.
Let me walk you through this project step by step.
HOW TO PLANK AN EXISTING TABLE

*Affiliate links provided for your convenience.*
SUPPLIES
Barn boards (or wooden planks)
Tape measure
Wood screws
Drill
Paint
TUTORIAL
First, measure the width and the length of your table. In order not to see the existing tabletop under the boards, you will need to add a few inches to the length and the width of your tabletop. The dimensions of our table is 72 inches long by 32 inches wide and I added 8 inches to the length (4 inches on each side) and 4 inches to the width (2 inches on each side).
Determine how wide you would like the planks to be. Our barn boards were originally about 12 inches wide and I decided to cut them in half, so each board is approximately 6 inches wide.
Calculate how many boards you will need for this project. Don't forget to include the extra inches on each side of the existing tabletop to make your new table wide enough to hide the tabletop underneath.
Using a miter saw, cut each plank to your desired length. Don't forget to include the extra inches on each side of the existing tabletop to make your new table long enough to hide the tabletop underneath.
Using a table saw, cut each plank to your desired width.
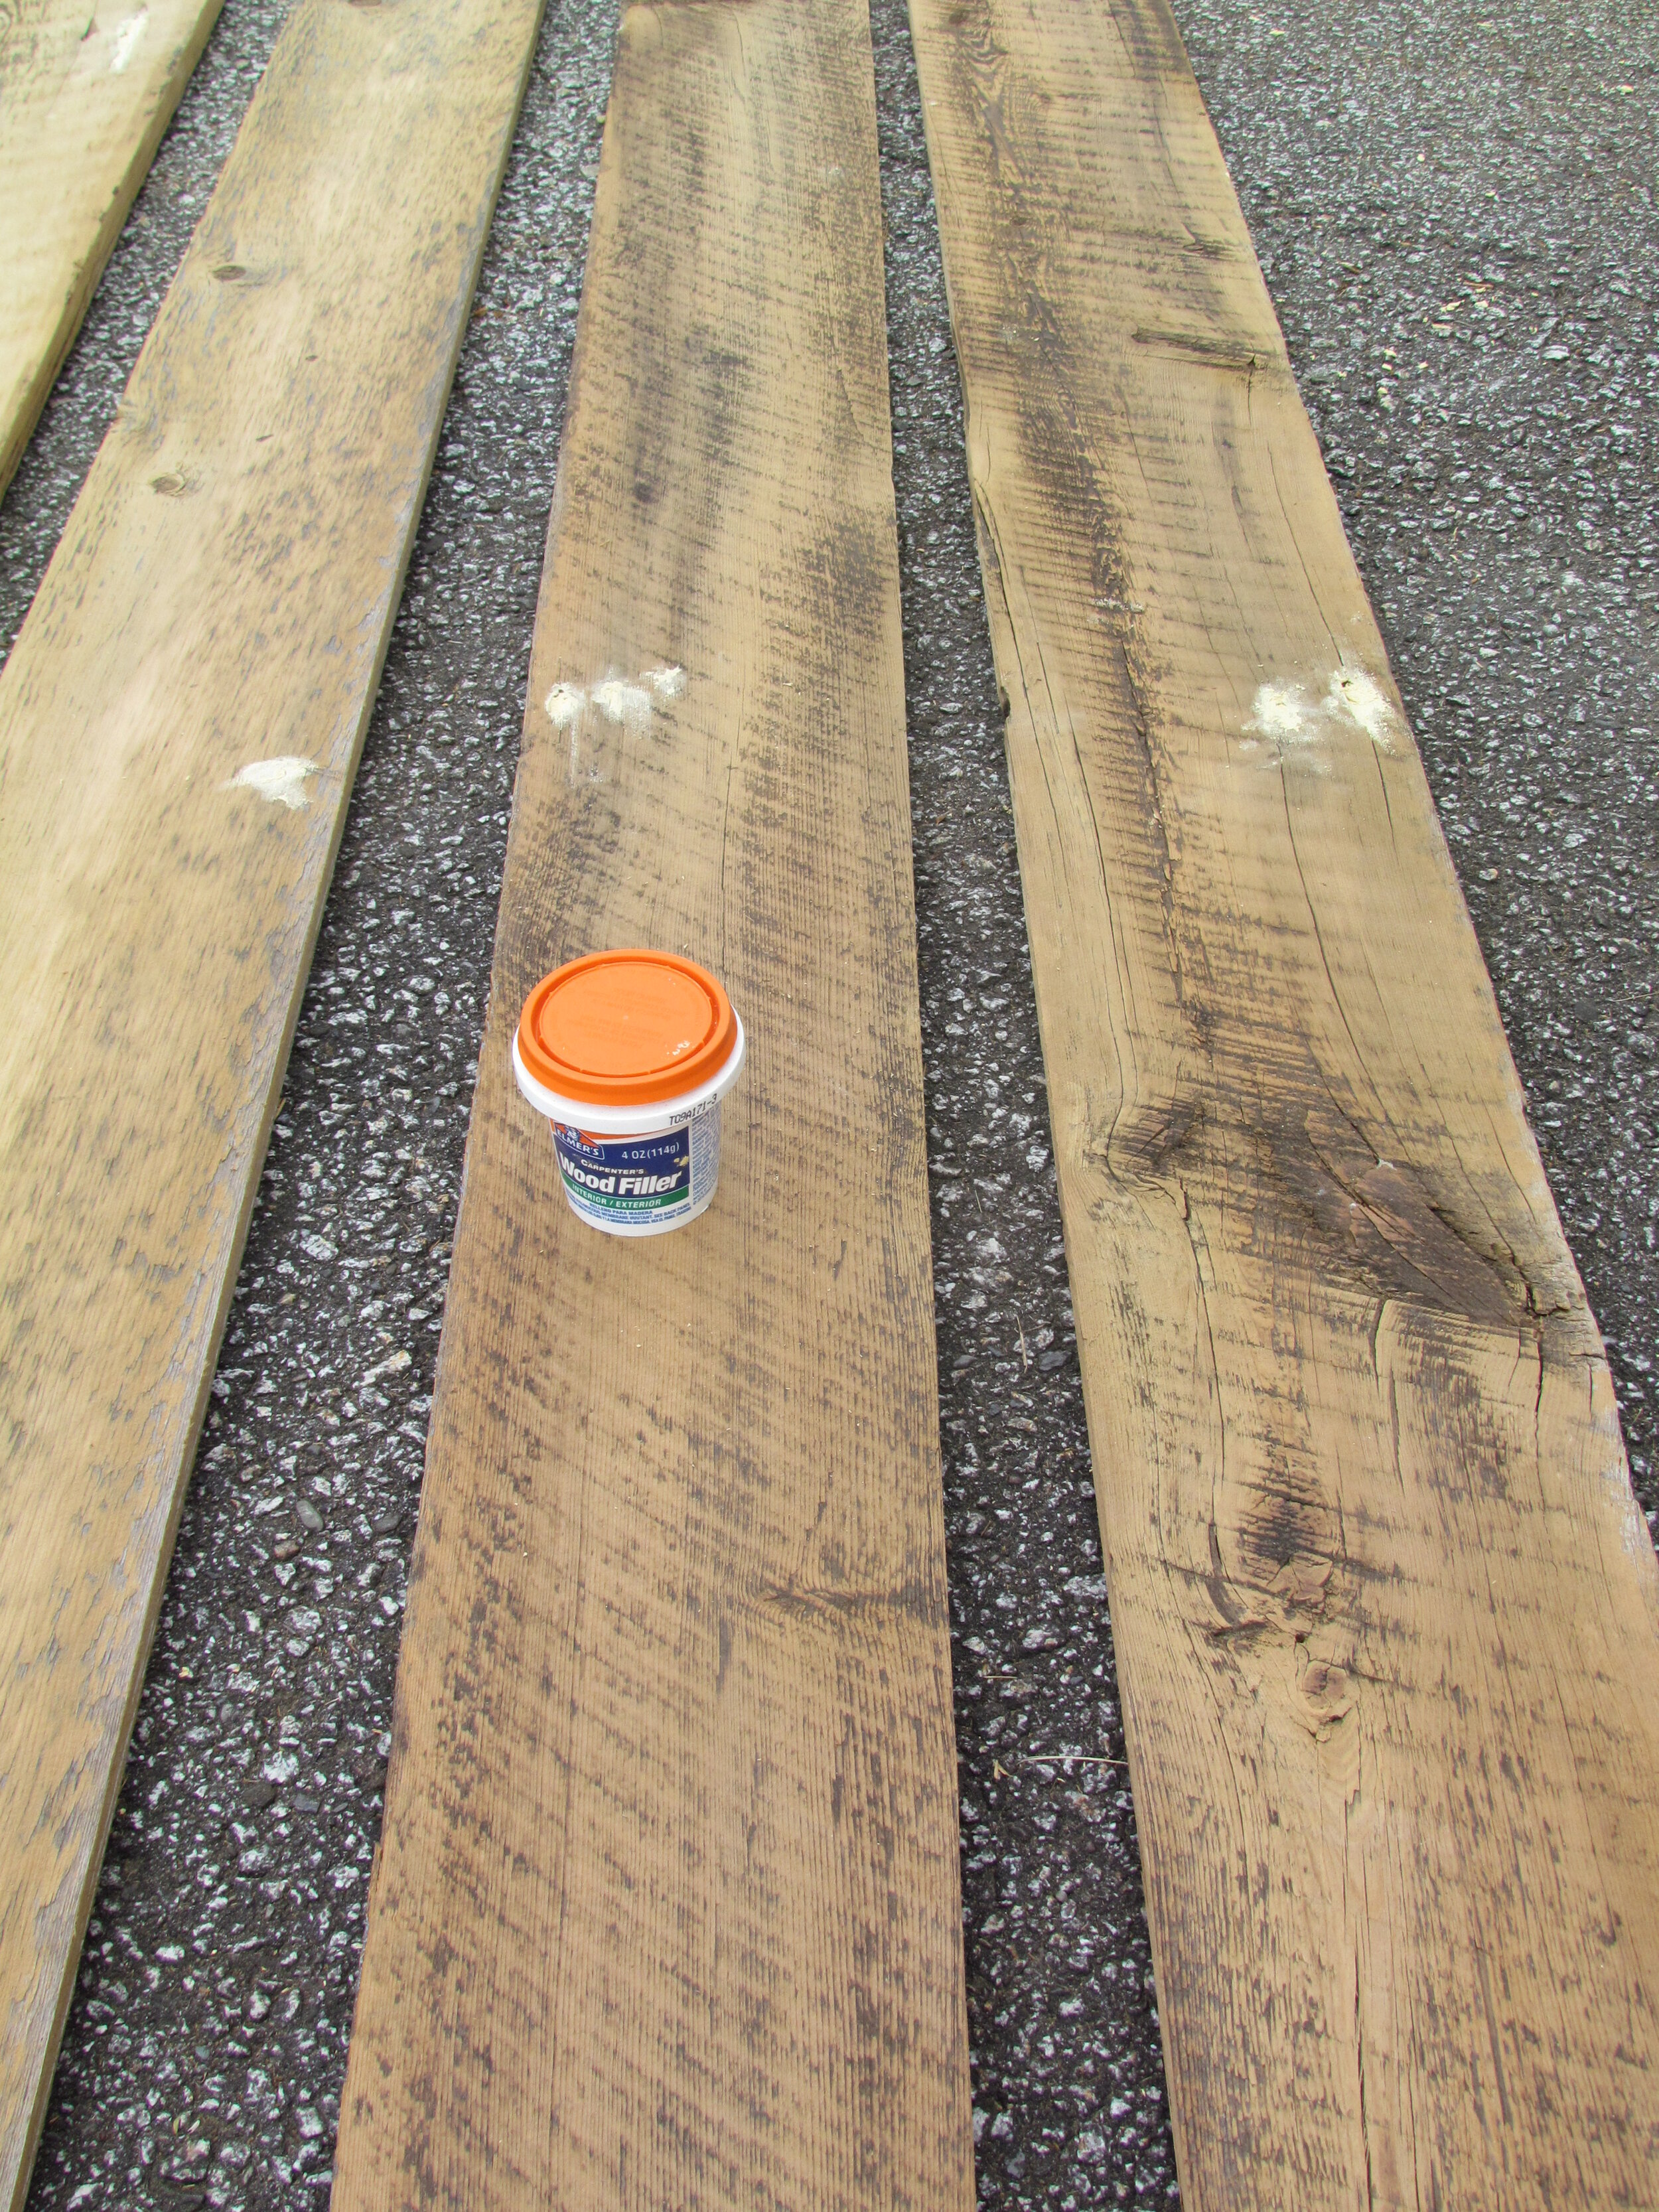
Sand each board until all surfaces are smooth.

Fill big holes and cracks with wood filler, let it dry, and sand the filled areas.
Prime and paint each board. I could not get good coverage with my regular water-based primer so I ended up using BIN, a shellac-based primer/sealer. I gave the boards and the entire table two coats of Benjamin Moore 'Chantilly Lace'.
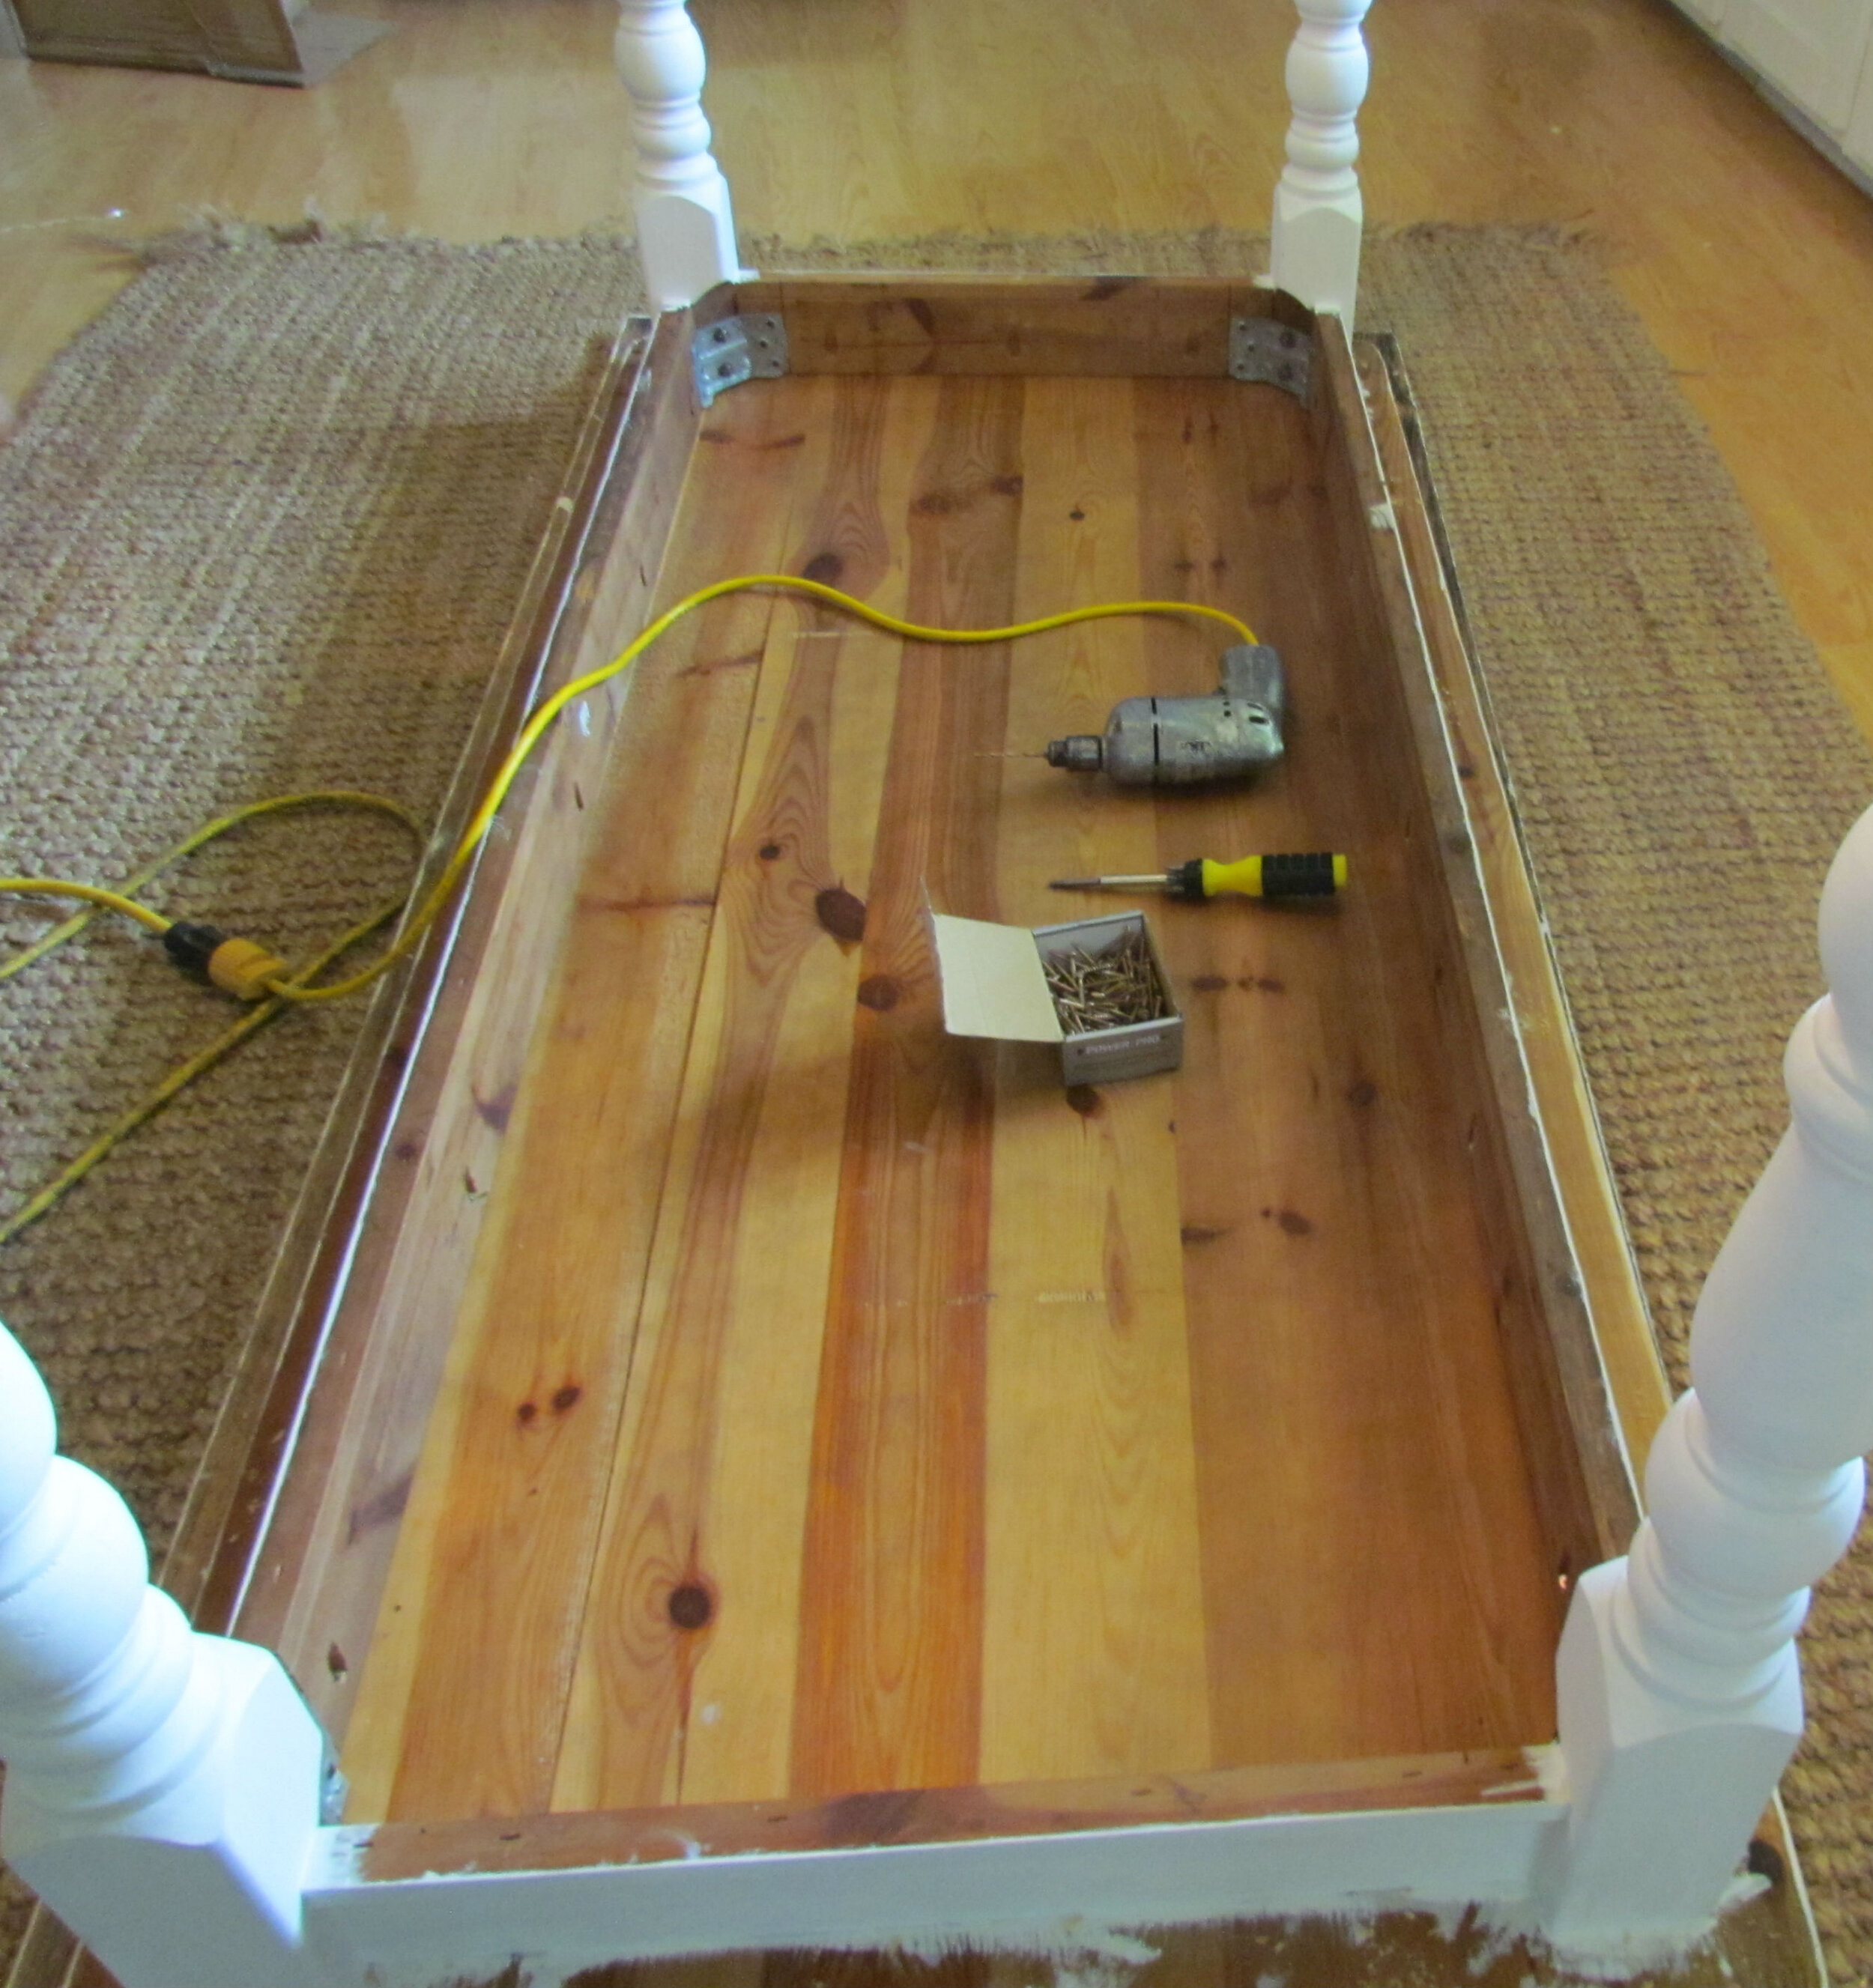
Align the boards on the tabletop and glue each one to the table and let it dry. We have a very active boy so we decided to use glue AND screws for this project.

Flip the table over and screw each board to the table. We used two screws per board, one on each end.
The last step is to seal your table. Because I painted our table white and I did not want the white to yellow, I used polycrylic instead of polyurethane.
We went for a very rustic look and decided not to plane each board. The thickness of each board varies slightly and is around 3/4 inch.


I hope you enjoy this tutorial and that this project inspired you to makeover a tired piece of furniture in your own home.
With love and gratitude,
Marie-Hélène
